Friday, June 24, 2011

French Coconut Pie

Once you stop blogging it is really hard to get going again.  You get lazy.  Your not a good photographer.  You just want to eat Cheetos.  The kids are arguing.  It's really hot.  I am gonna try.  This recipe is for Anna.  She likes coconut.  So does Rowdy.  This is the best and easiest coconut pie ever! It tastes like a giant macaroon.  Did I mention that I am really hot?


Prepare your favorite pie crust.


Melt butter (I use a glass bowl so I can melt butter in Microwave and only dirty one bowl) and throw in the rest of the ingredients....I put the eggs in last, kinda on top so they don't start cooking in butter that might be a little too hot.


All mixed!


Pour in crust.


Bake at 350 degrees for 1 hour.  Cool to room temperature and enjoy!

French Coconut Pie
Straight from the Tasty Kitchen.  Many good things come from the Tasty Kitchen.

  • 3 whole Eggs Beaten
  • 1-½ cup Sugar
  • 1 cup Flaked Coconut
  • 1 stick Butter, Melted
  • 1 Tablespoon White Vinegar
  • 1 teaspoon Vanilla Extract
  • 1 pinch Salt
  • 1 whole 9" Uncooked Pie Shell
Mix filling ingredients well and pour into the pie shell. Bake at 350F for 1 hour.

Sunday, June 5, 2011

Strawberry Yumminess!

Here is a recipe you must try from Tasty KitchenThis is so buttery good.  I used 1-1/2 times the ingredients because my cookie sheet is quite a bit bigger than the one mentioned in the recipe.  Next time I am going to try peaches and peach jam.  A big scoop of ice cream on top would make this even better.


Yummy.


Combine all the dry ingredients in a large bowl and cut in chilled butter. 


Reserve 1 cup of the crumbly mixture and pat the rest evenly into your pan.  Bake at 350 degrees for 12 minutes. 


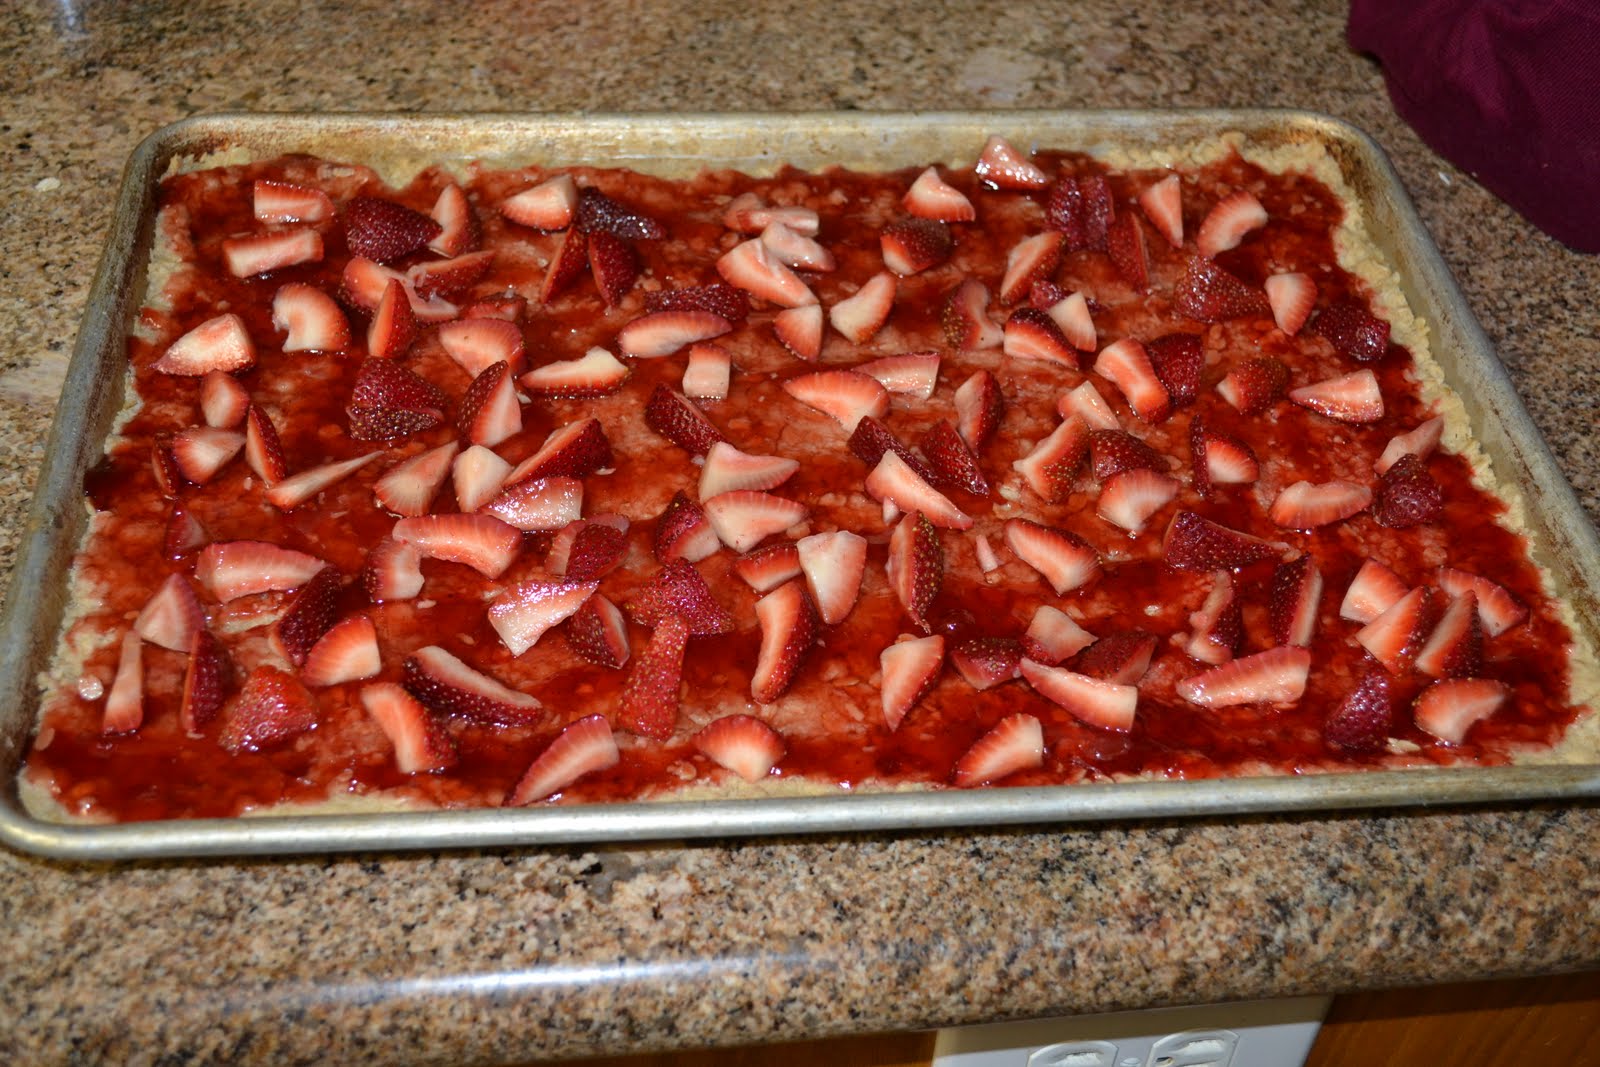
Melt jelly in microwave and carefully spread on crust.  If you aren't careful the crust will get a little crumbly.


Sprinkle with chopped strawberries.


Sprinkle with reserved crumbles.


Bake for another 20 to 25 minutes, until it becomes a light golden brown.  Cool for 1 hour.


Drizzle with white chocolate.  Maybe you can do it prettier than I can...

Strawberry White Chocolate Streusel Bars
  • 2 cups Old Fashioned Oats
  • 1-1/2 cup all-purpose Flour
  • 3/4 cups white Sugar
  • 3/4 cups brown Sugar
  • 1 teaspoon Baking Powder
  • 1/2 teaspoon Baking Soda
  • 1/2 teaspoon salt
  • 1 cup cold Butter, Cut Into Small Pieces
  • 4 ounces, fluid Strawberry Jam
  • 1 teaspoon Lemon Zest
  • 2 cups strawberries, chopped or sliced
  • 3 ounces fluid White Chocolate
Preheat oven to 350 degrees F. In a large mixing bowl, whisk together the oats, flour, both sugars, baking powder, baking soda and salt.  Add the chopped up cold butter and work it into the dry ingredients with your fingers or a pastry blender until the mixture looks like small crumbles. Reserve 1 cup of this mixture.   Dump the remaining crumb mixture into an ungreased 15” x 10” pan (jellyroll pan) and press it into an even crust.  Bake in 350 degree oven for 12-13 minutes or until it is firm to touch. Do not brown.  Remove pan from oven. Warm the jam in the microwave for 30 seconds and then stir in the lemon zest. Drizzle the warm jam over the warm crust. Spread the chopped strawberries over the crust. Sprinkle on the reserved cup of crumb mixture.  Return pan to 350 degree F oven and bake for another 20-25 minutes or until the crumbs on top are lightly browned. Then remove it from the oven and let the pan cool for 1 hour.  Melt the white chocolate in microwave, following directions on package. Drizzle melted chocolate in thin lines over the streusel top. Cut into bars.

Saturday, June 4, 2011

Grape Jelly......and some other stuff about jelly!

I have been experimenting with jam/jelly.  I wanted to try jelly with less sugar.  First I made the lower sugar version of strawberry jam.  It turned out awesome!  I have nothing against sugar, but jelly does have a lot the stuff.  Regular strawberry jam has 5-3/4 cups crushed strawberries, 1/4 cup lemon juice and 8-1/2 cups sugar.  The lower sugar version has 6 cups crushed strawberries and 4 cups sugar.  Regular grape jelly has 3-3/4 cups prepared juice and 5-1/3 cups sugar.  The lower sugar has more juice, less sugar (see below.) All you need to make the lower sugar version is Sure Jell fruit pectin for less or no sugar added recipes. 


Getting stuff together.  Sterilized jars, sterilized rings, lids, funnel, 3-1/2 cups sugar, 1 box low-sugar pectin and lids.


After measuring out the exact amount of sugar, scoop out 1/4 cup and mix in a separate bowl with the pectin.


Pour 5-1/2 cups prepared juice into desired pot.  I use a large aluminum pot.  Add the pectin mixed with the 1/4 cup sugar.  Turn on heat and bring to a boil that cannot be stirred away.


Once it comes to a boil that cannot be stirred away, add the rest of the sugar.  Return to a boil that cannot be stirred away.  Once you have reached the boil that cannot be stirred away set the timer for 1 minute and continue stirring.  Remove from heat after 1 minute.


It continues to boil while you are stirring...a boil that can't be stirred away.


While you are working on all the boiling...boil a pot of water and pour over the lids (please only use new lids...some kind of canning rule.)


Carefully ladle the jelly into prepared jars, filling just to the bottom of the canning funnel. 


Once your jars are filled, carefully wipe the rim with a tea towel (one that produces no lint, unless you want some lint in your jelly.)  Carefully place lids, using tongs, on top of jars.  Screw on rings...once again be careful! Once your lids are secured flip your jars over and set the timer for 5 minutes.  Flip back over and wait for the "ping," the sound of sealing jars.  Joy! I threw the potholders in to show you that you don't need pretty equipment to get the job done.


This particular recipe makes 7 cups of jelly.


Grape Jelly
  • 1 pkg. no sugar needed pectin 
  • 5-1/2 cups prepared grape juice
  • 3-1/2 cups sugar
  • Canning jars...you choose what size suits you...smaller for gifts, bigger for home
The directions are pretty simple to follow in the box.  I have pretty much outlined them above.  Just follow exactly what they say to do and you should come out with perfect jam/jelly! 

Monday, May 9, 2011

Sassy Chicken...the Nurse...

 Where has the Sassy Chicken been?  She has been nursing the Rowdy and his Bochdalek Hernia.  Rowdy has been suffering from "fake" heart attacks for a year now.  I say fake because he has had every heart test available and has an excellent heart.  Almost a year to the date of his first "fake" attack they did a CT of the chest and discovered the problem. 

Here is a quote from the above linked article...

"Presentation of a Bochdalek hernia in an adult is exceptionally rare, Kirkland in 1959 published the first view of 34 cases of adult Bochdalek hernia and as of 1992 only 100 cases of symptomatic adult Bochdalek hernia have been reported in world literature."

Leave it to Rowdy to get something so freakish!  Anyway he is now recovering from a 7-1/2 hour surgery, followed by 4 days in ICU.

Maybe I will cook something other than bean burritos in the near future!

Monday, April 25, 2011

Rag Quilts


The rag quilt is so cute, so cuddly, so fun!  I would not use the word easy.  I have never quilted anything before and have no idea how to cut with a rotary cutter or how to use the little board to make the squares perfect.  I need a lot of help in this area.  This took me a really long time!  I am sure this could be sped up quite a bit with some knowledge of how to use these tools.  Once the squares are cut the rest is easy, but not quick.  I followed the directions from the Green Apple Orchard blog.  The directions were easy to follow.  I made it just like the directions said too, which is unusual.  :O) 


Friday, April 8, 2011

Leftover Pizza Buns

Here is an idea for leftover hamburger or hot dog buns.....


Hot dog bun pizza!  Tomato paste, garlic salt, mozzarella cheese and pepperoni.  Bake at 425 degrees until crisp.  Broil for a second or two if you like it even crispier!

The boy folded his and ate it like a sandwich!

Wednesday, April 6, 2011

Whipped Butter Update


Whipped butter is a hit!  It really stretches the butter.  One batch lasted one week. (This includes about 1/2 a cup of whipped butter that was dropped on the floor!) In one week we would normally use 6 to 8 sticks of butter for our spreading needs.  We used our whipped butter for toast, rolls, veggies, rice...pretty much anything at the table we would normally spread butter on.  Make some whipped butter today!

LinkWithin

Related Posts Plugin for WordPress, Blogger...